DIY Handmade Soap Bars: Make Your Own Natural Beauty
Start making your own natural beauty products with DIY handmade soap bars. Store-bought soaps often have harsh chemicals and fake fragrances. But, making your own soap at home lets you choose natural ingredients and enjoy the satisfaction of creating something special.
Artisanal soaps are becoming more popular in the U.S. People want handcrafted, high-quality soaps instead of mass-produced ones. By trying DIY soap making, you can join this growing trend and make beautiful, nourishing bars that meet your skin’s needs.
What to focus on:
- Craft your own natural, personalized soap bars at home
- Gain control over the ingredients and create custom formulations
- Experience the cost-effectiveness and satisfaction of homemade crafts
- Tap into the growing popularity of artisanal soaps in the United States
- Explore the art of soap making and unleash your creative potential
Essential Ingredients and Supplies for Natural Soap Making
Making your own natural soap bars at home needs a few key natural ingredients and soap making supplies. Start your journey into organic skincare and find out what you need to make your own soap.
Base Oils and Butters for Soap Making
The base of any handmade soap is the mix of base oils and butters. Here are some top picks:
- Olive oil, which cleanses gently and moisturizes
- Coconut oil, for its rich, creamy lather
- Shea butter, for its skin-nourishing and softening properties
Essential Tools and Equipment
Having the right tools is key for making soap. Make sure you have:
- Molds to shape your soap bars
- A digital scale for precise measurements
- A reliable thermometer to check temperatures
- Sturdy mixing utensils and containers
- Protective gear like gloves and safety goggles
Natural Colorants and Additives
Add a touch of natural color and scent to your soap bars. Try different natural ingredients, like:
- Clays, like kaolin or bentonite, for unique colors
- Dried herbs, flowers, or spices for designs
- Essential oils or fragrance blends for scent
With the right soap making supplies and creativity, you can make organic skincare products that look and feel great.
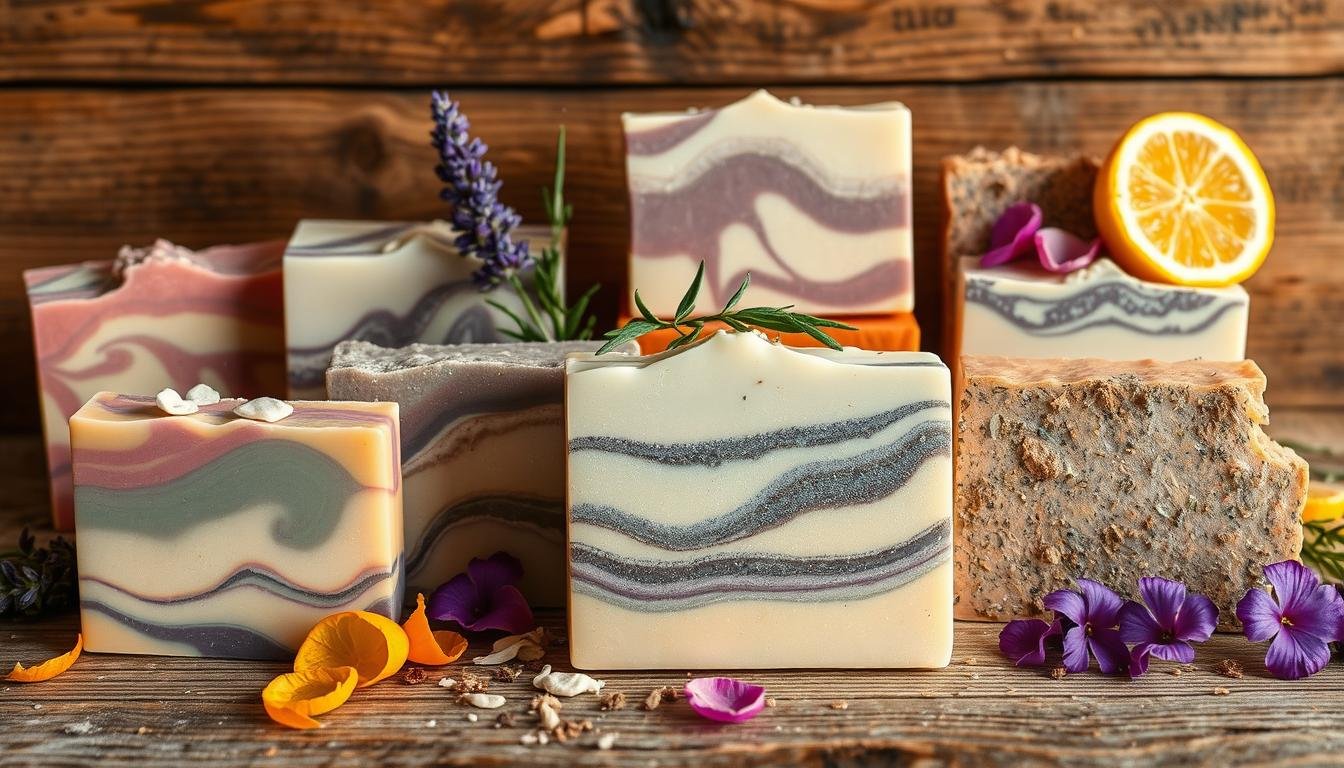
Understanding the Cold Process Soap Making Method
Making your own cold process soap is a rewarding hobby. This method creates high-quality, natural soaps that keep their good qualities. Let’s explore this fascinating process.
The cold process method uses a chemical reaction between oils and lye, called saponification. This process keeps the natural glycerin in the soap, which is good for your skin. Unlike other methods, it doesn’t need heat, so the oils and essential oils stay intact.
One big plus of this method is that you can add many natural ingredients. You can use colorful botanicals and soothing essential oils. This lets you make handcrafted beauty products that are unique and fit your needs.
After making the soap, it needs to cure for 4-6 weeks. During this time, it gets harder and the pH level balances out. This makes the cold process soap last longer, gentle, and work well for your skin.
“The cold process method allows me to create truly unique, custom-made soaps that I can’t find anywhere else. The process may take a bit more time, but the results are well worth it.”
Learning about cold process soap making opens up a world of DIY soap making. You can make your own high-quality, natural soaps. Get ready for an exciting journey of making your own soap!
| Advantages of Cold Process Soap Making | Disadvantages of Cold Process Soap Making |
|---|---|
| – Retains natural glycerin – Allows for customization with natural ingredients – Results in long-lasting, gentle, and effective soaps – Preserves the integrity of oils and essential oils | – Requires a longer curing time (4-6 weeks) – Involves working with lye, which requires extra safety precautions – Maybe more time-consuming compared to other soap making methods |
DIY Handmade Soap Bars: Step-by-Step Guide
Making your own diy handmade soap bars is a fun and calming activity. First, make sure your workspace is safe. Have all your aromatherapy soaps supplies and tools ready. Wear gloves and eyewear to protect yourself.
Mixing Lye Solution
To start making diy handmade soap bars, mix the lye solution. Measure the lye and water carefully. Stir until the lye dissolves completely. Work in a well-ventilated area and avoid breathing in the fumes.
Combining Oils and Adding Natural Fragrances
Then, mix the base oils and butters for your aromatherapy soaps. Heat the oils until they melt slightly. Slowly add the lye solution while stirring. Keep mixing until it’s thick and creamy.
It’s time to add your favorite scents! Mix in your essential oils or natural fragrances. Stir gently to blend them in. This is where you can make your soaps unique and aromatic.
Next, pour the soap mixture into your molds. Smooth the top and remove air bubbles. Let the aromatherapy soaps harden and cure for weeks. Then, unmold and cut them into bars.
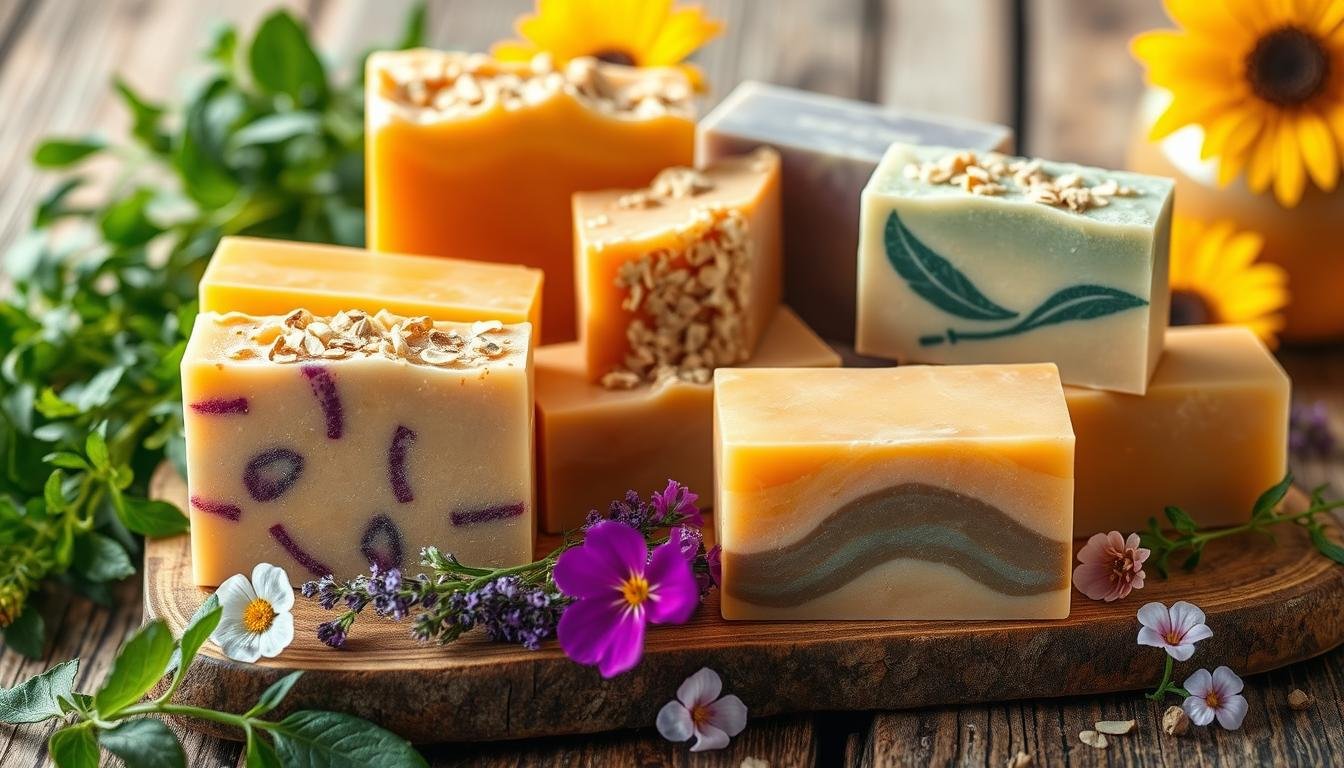
Customizing Your Artisanal Soaps with Natural Ingredients
Making your own artisanal soaps opens up a world of possibilities. You can use a wide range of natural ingredients to make bars that are truly unique. These soaps can meet your personal preferences and skin care needs.
Adding vegan-friendly ingredients is a great way to customize your soaps. Use plant-based oils, butters, and extracts to make gentle, ethical soaps. This meets the growing demand for cruelty-free products and uses nature’s nourishing gifts.
Exfoliants can also make your soaps stand out. Try adding ground oats, coffee grounds, or crushed seashells. These natural materials gently remove dead skin cells, leaving your skin refreshed and glowing.
Scent is key in making your soaps unique. Try essential oils, dried herbs, and floral infusions for different aromas. You can create scents that match your mood or the season, offering endless possibilities.
The best part of making artisanal soaps is expressing your personal style. By using natural ingredients, you can make bars that not only clean and nourish but also show off your unique taste.
Conclusion
Making your own DIY handmade soap bars has been a fun journey. You’ve learned how to mix pure, high-quality ingredients into luxurious soaps. This process lets you create something natural and special.
You’ve tried out different colors, scents, and ingredients. This means you can make your soaps truly unique. It’s not just a hobby; it’s a way to express yourself and even start a business or give gifts.
Keep making your own diy handmade soap bars. Natural, handcrafted soaps are great for your skin and the planet. Enjoy the process and let your creativity show in every soap you make.
Maybe you will ask:
Whatare the key benefits of making your own DIY handmade soap bars?
Making your own DIY handmade soap bars has many benefits. You get to choose the ingredients and save money. Plus, you can make beauty products that are just right for you.
Using natural ingredients means your skin gets nourished. You avoid harsh chemicals found in many commercial soaps.
What are the essential ingredients and supplies needed for natural soap making?
For natural soap making, you need base oils and butters like olive oil and coconut oil. Shea butter is also important. You’ll also need lye, natural colorants, and additives like essential oils for fragrance.
You’ll need molds, thermometers, and safety gear like gloves and goggles. These tools help you make your soap safely and effectively.
Why is the cold process method preferred for handcrafted soap making?
The cold process method is loved for handcrafted soap making. It lets you control the saponification process and keep natural glycerin. This method also lets you add unique ingredients and customize your soaps.
You can make soaps with different textures and looks. This makes your homemade soaps truly special.
Can you walk me through the step-by-step process of making DIY handmade soap bars?
Here’s how to make DIY handmade soap bars: First, set up your workspace safely. Then, mix the lye solution.
Next, combine the oils and add natural fragrances. Make sure to get the right trace. Finally, pour the mixture into molds.
Remember to follow safety rules when working with lye. Let the soap cure fully before using it.
How can I customize my artisanal soaps with natural ingredients?
There are many ways to make your artisanal soaps unique. You can make vegan soap bars or add exfoliants like ground oats or herbs. Use essential oils for different scents.
Try different natural colorants and design techniques. This will help you create soaps with various textures and looks.
You May Also Like
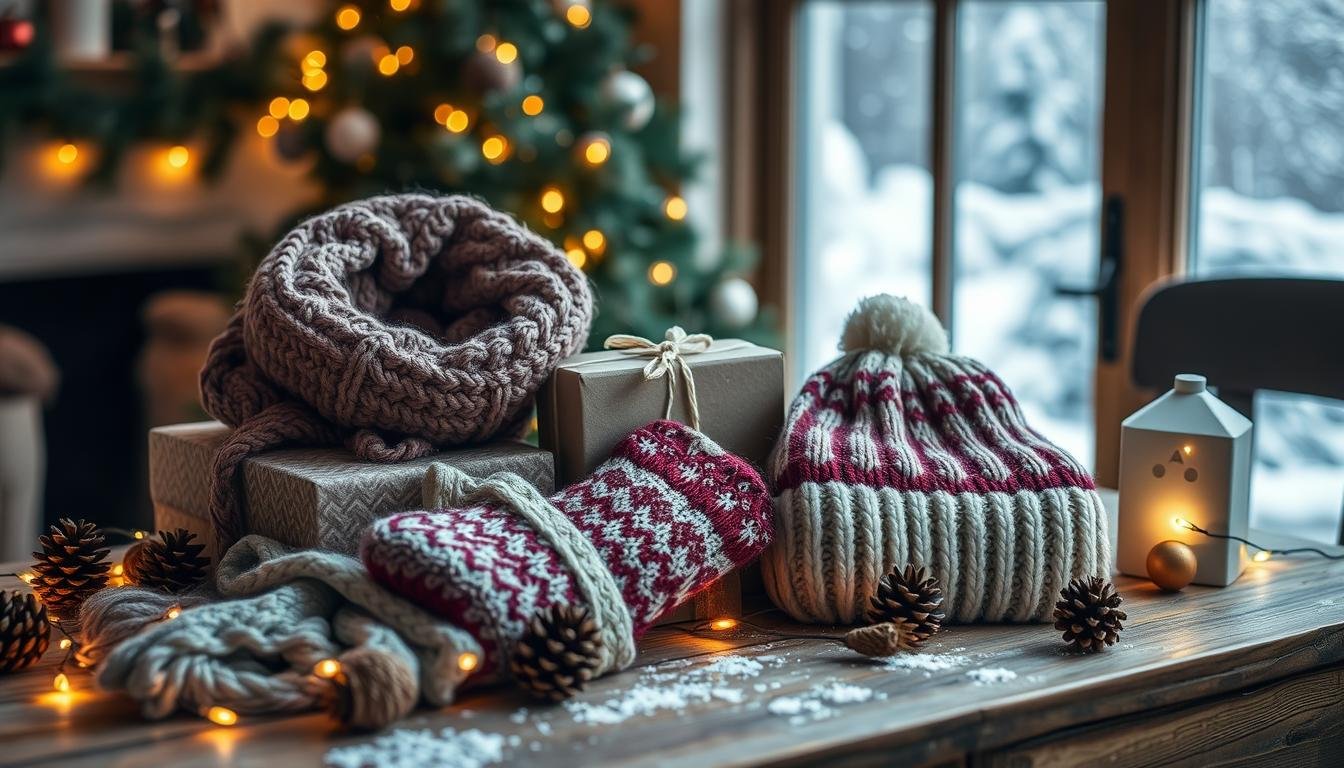
Cozy Knitted Christmas Gifts Ideas
Easy Homemade Holiday Spice Blends for Festive Cooking